
As a tramper, I had long since been fascinated and intrigued by the name of Brass Monkey Bivouac in the Lewis Pass. In New Zealand “Brass monkeys” is a colloquial idiom meaning extremely cold weather. Intrigued by the name and seeking a fun solo adventure, I set off on an epic 7-day solo hiking loop from Lewis Pass. From chasing sunsets on the Lewis Tops and visiting the original Brass Monkey Biv, to climbing up to the Devils Den with a circus of kea and swimming in the glassy waters of Lake Man, this classic Canterbury route had it all aside from Brass Monkeys weather. And even the surprise of finding that old Monkeys were out and new Monkeys were in…..
A 7 day hiking loop trip through scenery in the Lewis Pass mountains

Planning Information
Booking and Fees
Yes, some of the huts on this route must be booked. The huts that must be booked all year around are Brass Monkey Biv, Nina Hut & Hope Kiwi Lodge. All the other bivs/huts are standard requiring one hut ticket/annual hut pass or free.
There is no flat area outside Devils Den to camp. To camp, there is a flat area next to Blind Stream at the tree line 30 minutes below the Devilskin Saddle. This area is prone to avalanches in winter/spring
Upper Nina Bivvy is currently closed due to storm damage
Camping on the Lewis Tops and the huts on this route is free and doesn’t require booking, but normal conservation rules regarding camping near tarns and waterways apply.
Route Difficulty & Navigation
No, this is an advanced tramping route best suited for experienced hikers with good navigation skills. The route involves off-track navigation over alpine tops (especially between the Lewis Tops, The Apprentice, and descending to Lucretia Stream), steep climbs, overgrown tracks with treefall, and multiple river crossings that can become quickly impassable after heavy rain.
Topo maps: BT23 Lewis Pass, BU22 Boyle Village, BU Lake Sumner
When leaving the saddle between pts 1602 and 1605, ensure you take the more northern of the two descending spurs. Watch carefully for rock cairns and avoid the southern spur, which ends in a steep, dangerous drop-off. Once in the bush, the track is well marked.
Gear & Safety Advice
Yes, this route passes many tarns and is often next to a river/stream. At Devils Den Biv, the water tank can run completely dry during summer; if it is empty, you can find water a 5 minute walk away at Blind Stream.
The old, mouldy 2-bunk Brass Monkey Biv has been replaced! The Backcountry Trust rebuilt a brand-new, comfortable 4-bunk Brass Monkey Hut. It must now be booked. There is, however, floor space inside the Biv for emergency use. There is plenty of camping around the Biv. And it now has a toilet.
Transport & Logistics
There is no bus to Lewis Pass anymore. You either need to drive or organise a private shuttle. Car parks at Lewis Pass have been regularly targeted by thieves.
Boyle River Outdoor Education Centre at Boyle Village offers secure vehicle parking & a shuttle drop-off service.
Day 1: Lewis Pass to the Lewis Tops
- Distance: 5.2km | Time: 1.5 -2 hrs | Elevation Gain: 754 m
Chasing Sunsets and Alpine Tarns
My week-long solo tramp began with a drop-off via the East West Coaches, which conveniently was still running its seasonal service through Lewis Pass three times a week at that time.
I started up the Lewis Tops Track late on Sunday afternoon. As soon as I hit the bushline, the effort paid off. I was rewarded with sweeping views of the Freyberg, Opera, and Libretto Ranges, and all the way down to Maruia Springs.
As I pushed further onto the tops, pristine alpine tarns began popping up everywhere. Choosing a campsite was tough because of the sheer number of beautiful spots, but I eventually settled next to a large tarn just beyond pt 1561. The evening light painting Mt Technical and The Apprentice was magical—second only to the brilliant display of stars that night, set to the background of resident frogs.

Day 2: Lewis Tops to Lucretia Hut via Brass Monkey Biv
- Distance: 12.2 km | Time: 7 – 8 hrs | Elevation Gain: 1,161 m
Out with the Old Monkeys, In with the New
I opened my tent door the next morning to see a layer of clag rolling through the tops. The Apprentice loomed mysteriously above the mist, but as I walked past yet more tarns, the weather cleared completely.
Carrying a heavy week-long pack, I snailed my way up the climb to The Apprentice. I was incredibly excited for the next section: the ridgeline connecting to Lucretia and Brass Monkey Biv looked like pure fun on the map, and it didn’t disappoint.
On my way to the Lucretia peak, a helicopter zoomed back and forth several times. Based on the timing and direction, I guessed we might be heading to the same spot. As I made my way over pt 1605, I saw I was right—Brass Monkey Biv was an absolute hive of activity!
The Transformation of Brass Monkey Bivouac
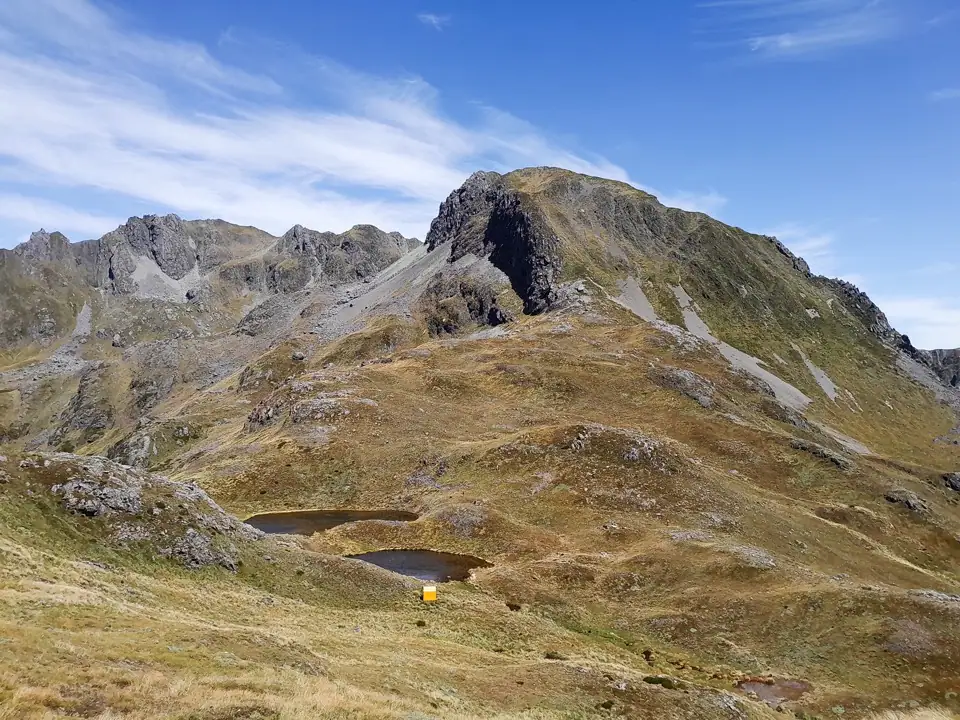
The original Brass Monkey Biv sat in a truly magical location next to an alpine tarn. Unfortunately, it had suffered from a long-standing black mould issue on the interior lining and had been closed for months.
The construction team came over for a chat when I arrived; they had spotted me from the chopper and were waiting for my arrival. They were busy laying the foundations for the brand-new Brass Monkey Biv and a new toilet.

Navigating the Descent to Lucretia Hut
From the saddle between pts 1602 and 1605, I turned East. Eager to escape the blazing sun on the tops and get into the shade, I accidentally picked up the wrong spur. I quickly realized my mistake when I hit a steep drop-off.
After checking my notes, I realized I needed to be on the more northern of the two descending spurs (I had somehow missed the rock cairns). Once back on track, I found a well-trodden foot trail down the spur to the bush edge. From there, markers led me into the headwater of Lucretia Stream, and down the true right to Lucretia Hut.
While the track was slightly overgrown, the markers were easy to follow. Lucretia Bivvy is a tidy, incredibly cute little hut. It features a clever fold-out table, a top bunk that lifts for extra headroom, and a hilarious rocket-shaped longdrop toilet.

Day 3: Lucretia Hut to Devils Den Biv via the Nina Valley
- Distance: 22 km | Time: 8 – 9 hrs | Elevation Gain: 1,348 m
Disco Balls and Hidden Saddles
On the third day, I headed out toward the Nina Valley. The river was low enough that I dropped straight into it, bypassing the longer walk down the valley on the track to the bridge.
I followed the river up until I could easily link up again with the Nina Valley Track. I decided to take a side trip up to the Upper Nina Bivvy from Nina Hut, which was well worth the extra effort. The track was a bit boggy and slowed down by significant treefall, but the birdlife was spectacular thanks to the extensive trapping efforts of the Doubtless Conservation Group.
I particularly loved seeing the Riflemen (Tītitipounamu). Interestingly, I noticed the DOC 200 traps contained miniature disco balls! Apparently, these are being trialed to see if the visual reflection helps attract stoats, backed by recent trapping research.


Reaching Devils Den Biv
The final climb up to Devils Den Biv was punishingly steep in places, but the hut occupies a prime location. It turns out the devil had stolen all the water from the rain tank, so I had to make the short wander through the deep tussock to Blind Stream to fill up.
The Den is nestled under the Devils Rampant on the Devilskin Saddle, offering commanding views of both the Doubtful and Nina Valleys. Once again, I enjoyed total solitude. Aside from the hut builders at Brass Monkey, I hadn’t seen a single person on the trail. A highlight was listening to kea soaring and calling above the bivouac.

Days 4–5: Doubtful Valley to Lake Man and the Hope Valley
- Day 4: Distance: 17.3 km | Time: 7 hrs | Elevation Gain: 881 m
- Day 5: Distance: 30.2 km | Time: 9 – 11 hrs | Elevation Gain: 574 m
Alpine Swims and Dodging Sandflies
The next morning, the track dropping down to the Doubtful Valley proved to be overgrown and slow with treefall. I suspect this section doesn’t get much foot traffic outside of local trappers.
Arriving at Doubtful Hut, I accidentally terrified the first person I’d seen in days—a hunter who opened the door only to find me standing right there wishing him good morning! Once he recovered, we had a fantastic yarn. I made the short side trip to the sunny Doubtless Hut to balance myself out after Doubtful Hut.

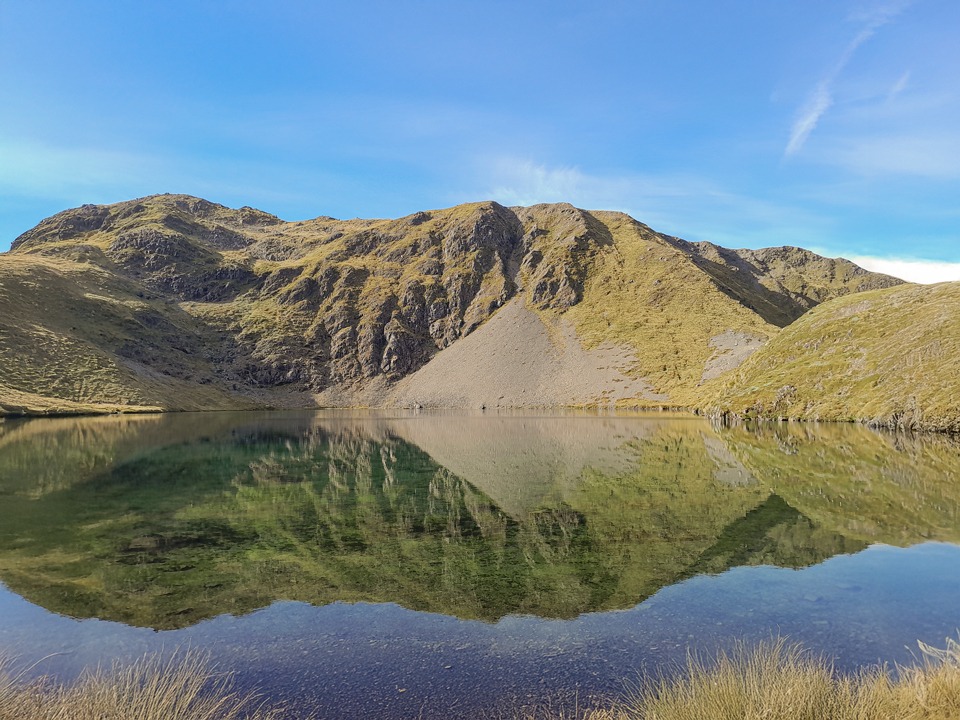
The Route climbing up to Lake Man Biv went incredibly quickly, leaving me plenty of time to make the extra trip up to Lake Man itself for a swim. This massive alpine lake is stunningly peaceful and absolutely worth the extra elevation gain and slow scramble over boulders.
I savoured my last night of complete solitude at Lake Man Biv. The following day, I would be entering the Hope Valley, which I expected to be busy since it shares a corridor with the Te Araroa (TA) trail along the Hope Kiwi Track.
Abseiling into Hope Valley
I enjoyed the traverse above the bush edge from Lake Man Bivvy and the views down to the Hope Valley before the very steep descent on the Lake Man track into Pussy Stream. DoC do recommend heading to Lake Man via the Doubtful Valley and descending into the Hope Valley due to the steepness of this track. My weather forecast from Christchurch had predicted rain later in the week, so I had been mentally preparing for a tricky crossing of the Hope River or even following Pussy Stream down the valley. Luckily, the rain never eventuated, and the river was so low that I basically just skipped across it.
I headed up the valley to explore Hot Spring Stream before winding back down toward St Jacob’s Hut. Upon arrival, I found the hut swarming with sandflies because the current occupants had left the door and windows wide open. Refusing to become a midnight feast for the resident sandflies, and with a beautiful evening on my side, I pushed onward toward Hope Kiwi Lodge to camp.
Days 6–7: Lake Sumner, and Out to Windy Point
- Day 6: Distance: 33 km | Time: 10 hrs | Elevation Gain: 1,419 m
- Day 7: Distance: 18 km | Time: 5 hrs | Elevation Gain: 443 m
Wind, Lake Sumner & Wasps,
The next morning, I left the Hope Kiwi Track and headed up the Three Mile Stream Track. Interestingly, the actual route climbs quite a bit more than what is marked on the topo map. After chatting with a hunter near the end of the descent, I wound my way back around on the Hope Kiwi track and opted for a long day by walking past Lake Marion down to Lake Sumner.
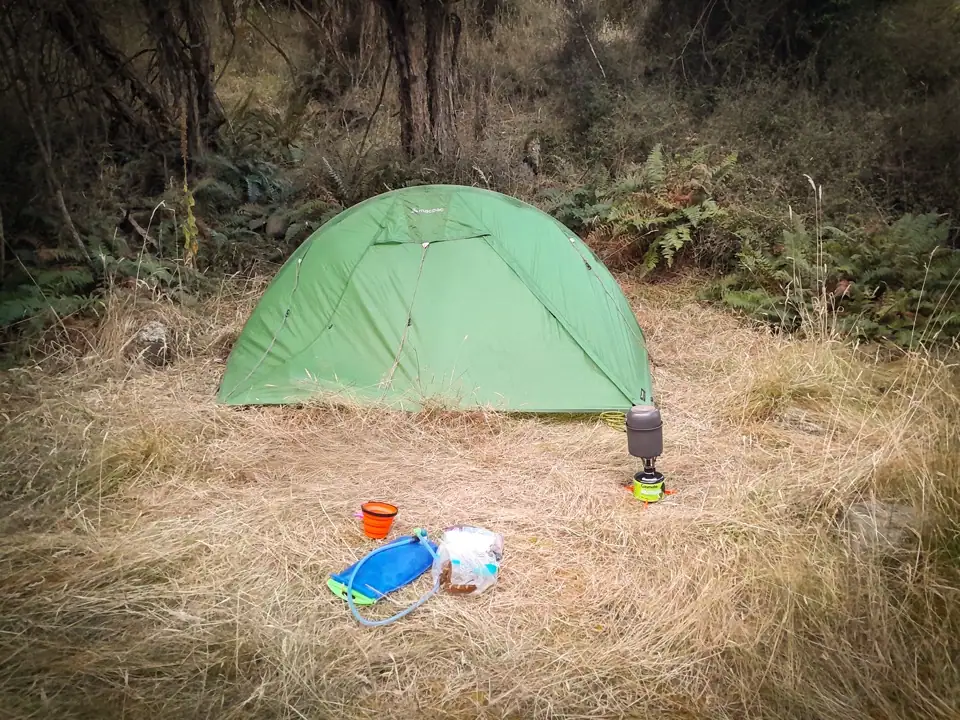
My plan was to tramp around the edge of Lake Sumner, but I slammed directly into a brutal headwind. Deciding it wasn’t worth the battle, I bailed at Breaksea Bay and retraced my steps back to the Hope Kiwi Lodge to camp again. The only downside of a very long day? Cooking dinner right in the middle of the track while actively evading a swarm of aggressive wasps!


My final day was a very short, easy walk out to Windy Point to camp one last time before my morning bus pickup, concluding an epic week exploring Lewis Pass.
Other fantastic day walks or weekend tramps nearby within driving distance from Christchurch are a trip up Mt Princess to Princess Bath & Mt Oxford.